My husband’s cousin recently had a baby shower with a gift theme rather than a registry or wish list. The theme was diapers. The invitation had a little note enclosed asking that each attendee bring the expectant mother diaper-associated gifts: diapers, wipes, diaper bag, diaper disposal, cloth diapers for burp cloths and so on. I couldn’t bring myself to just toss a package of diapers in a gift bag and call it a day. I’ve made a few diaper cakes in the past, but this time I went for a diaper trike. I think it turned out well. Here is the tutorial for my version of a diaper tricycle.
Materials:
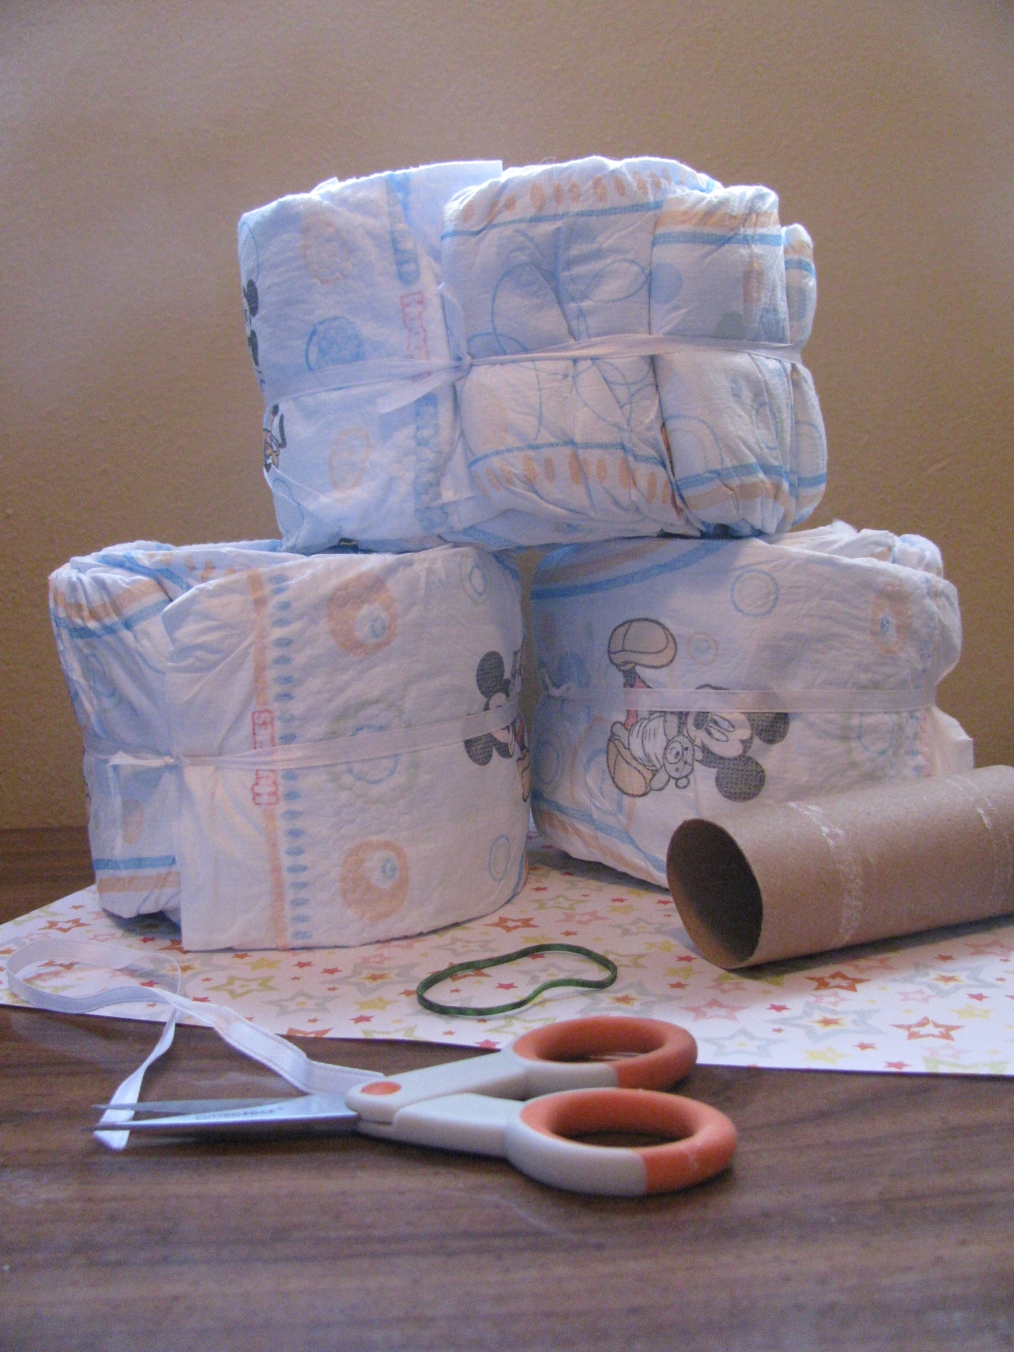
1+ Package of Diapers (I used size 3)
Toilet Paper Roll(s)
3 Rubber Bands
Ribbon
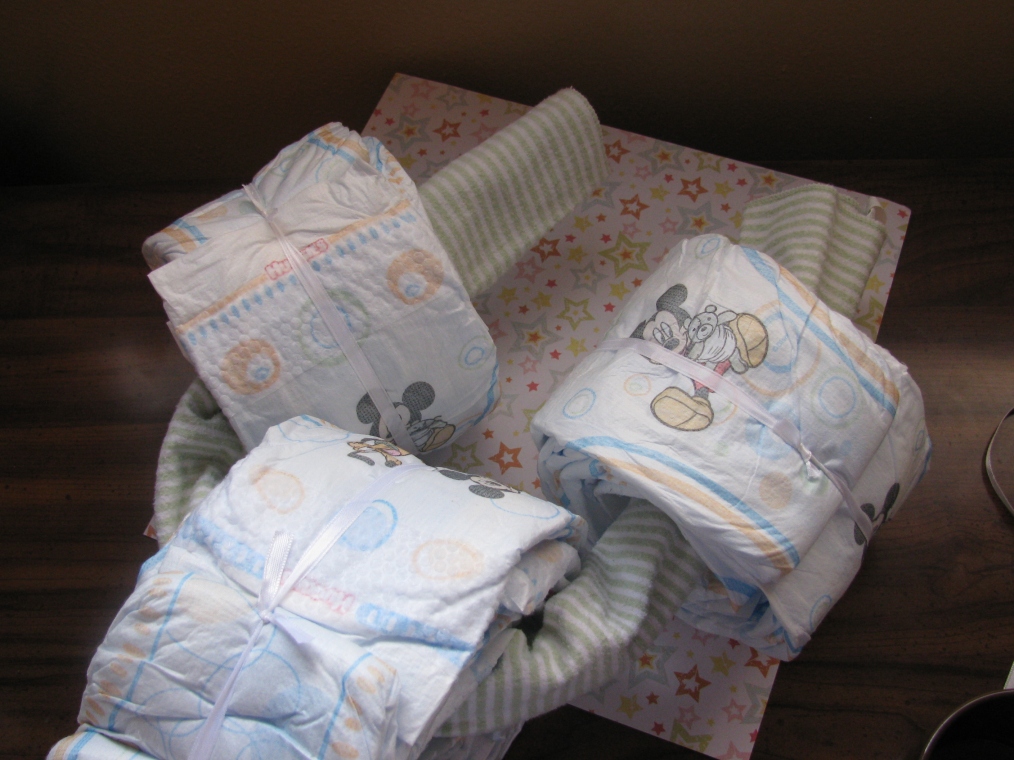
2 Receiving Blankets
2 Bibs
1 Bottle (optional)
Stuffed Animal/Doll (optional)
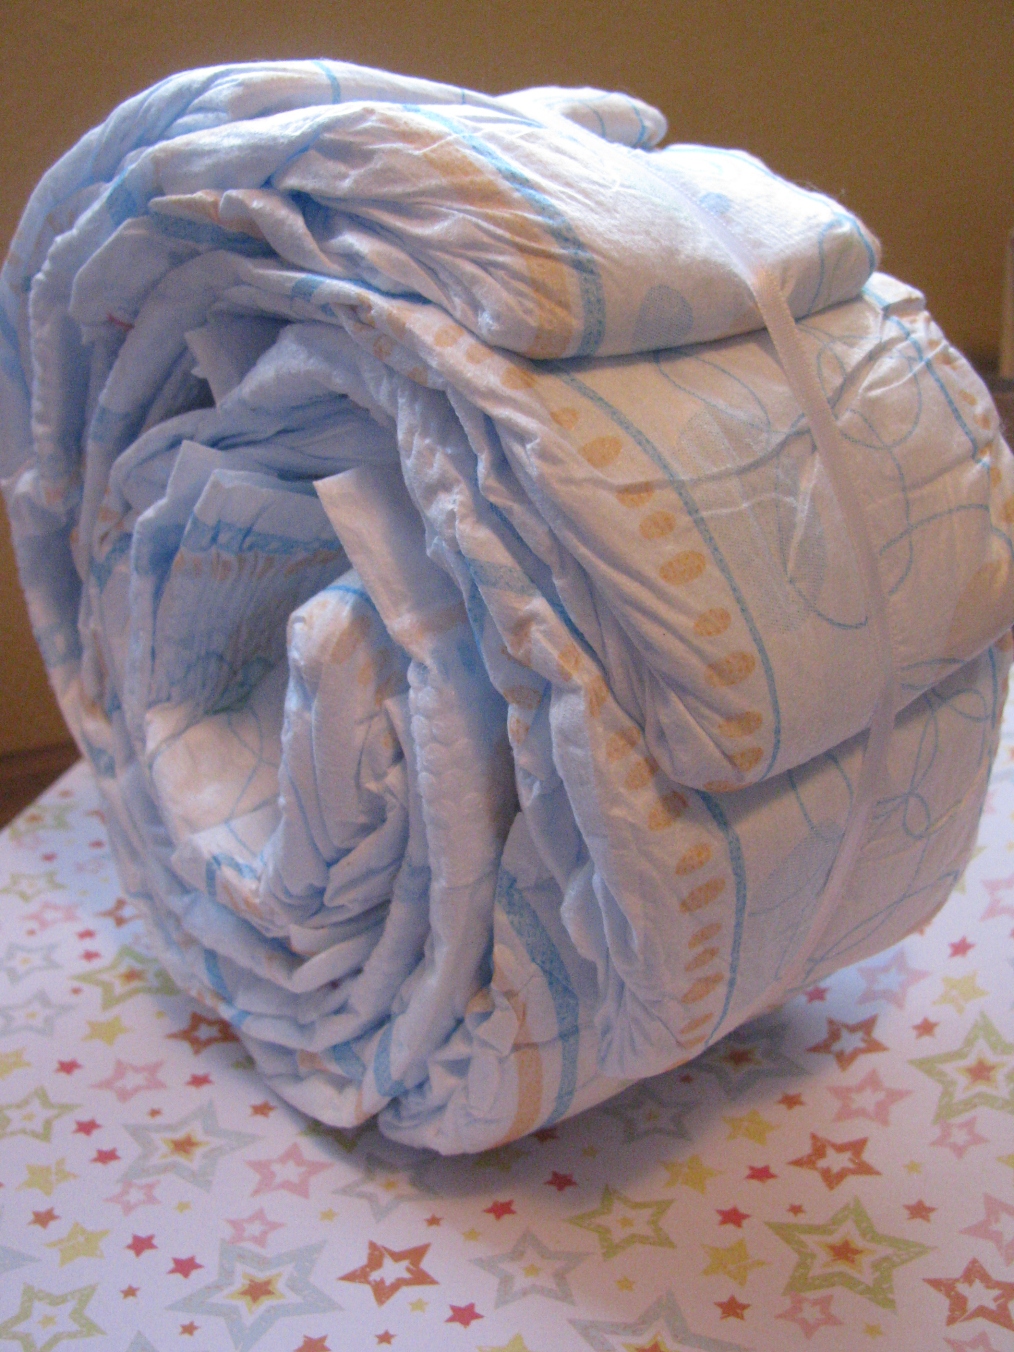
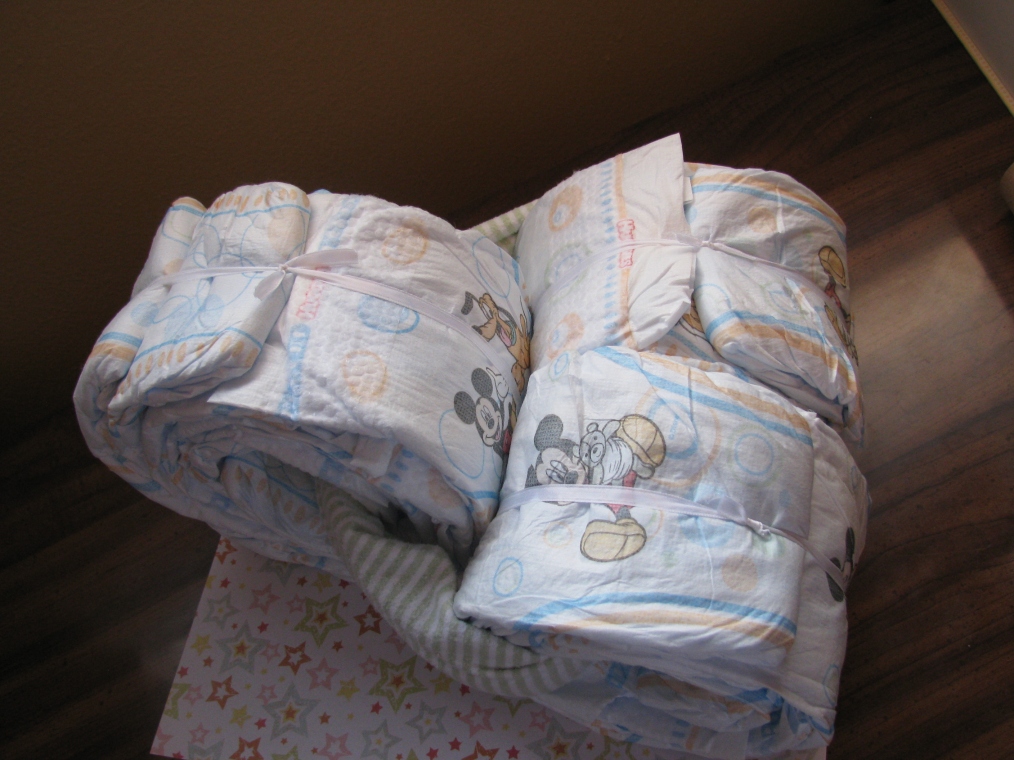
To begin, wrap a diaper around a toilet paper roll. Wrap the next diaper around the first diaper so the layers begin to fan. Continue wrapping until the desired size is reached—roughly 8-12 diapers. Place the rubber band around the diaper wheel. If you are having a tough time holding the diapers in place, put the rubber band on earlier and tuck the diapers inside the rubber band.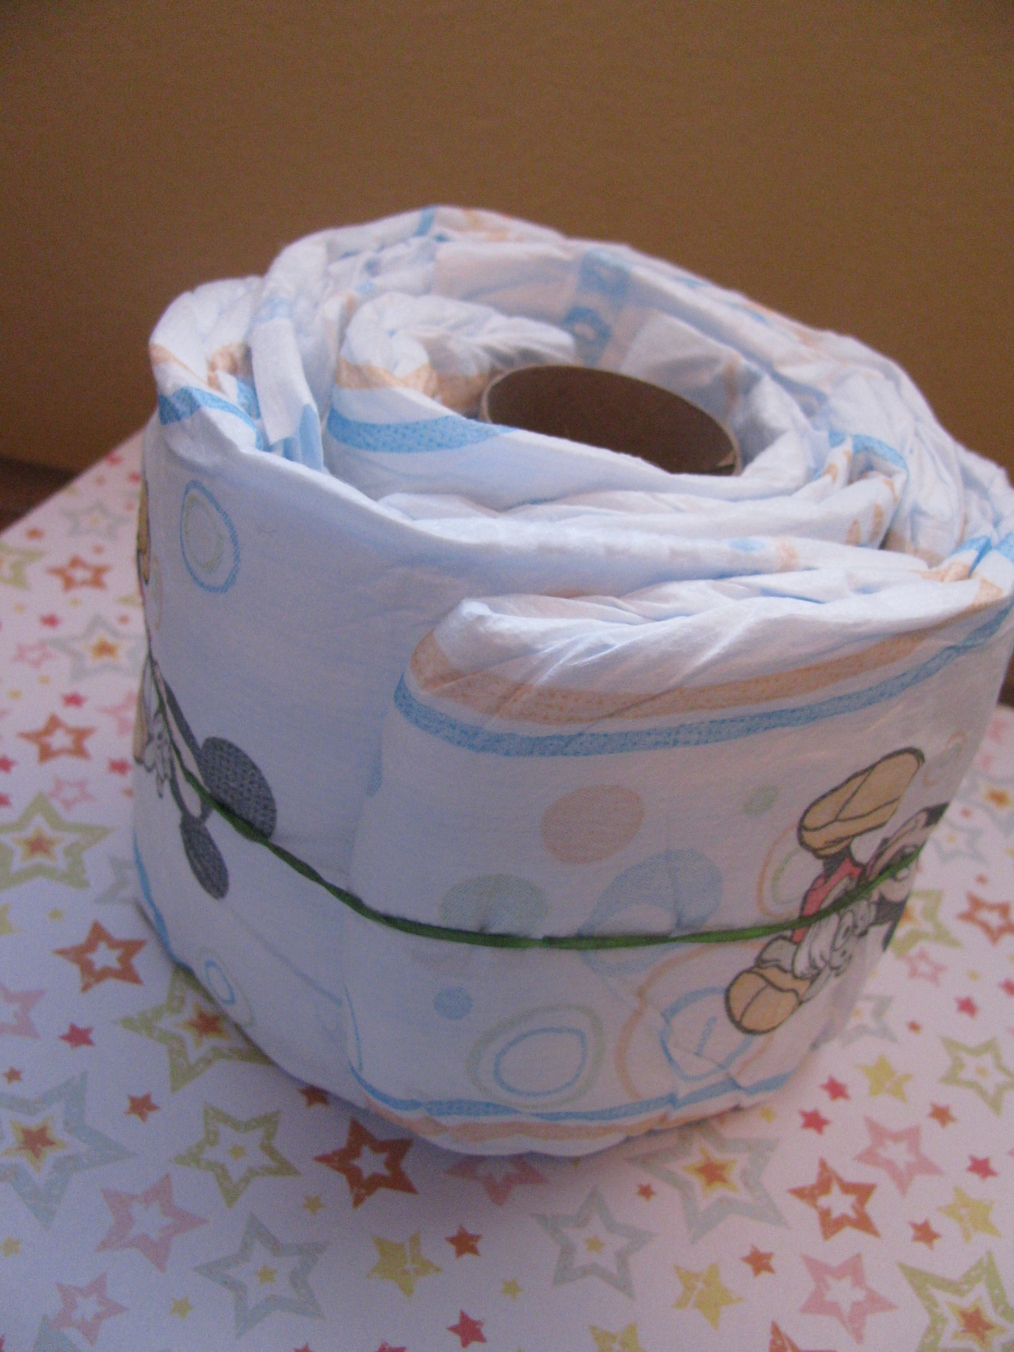
Slide the toilet paper roll out and repeat the diaper wheel making process using the exact same amount of diapers.
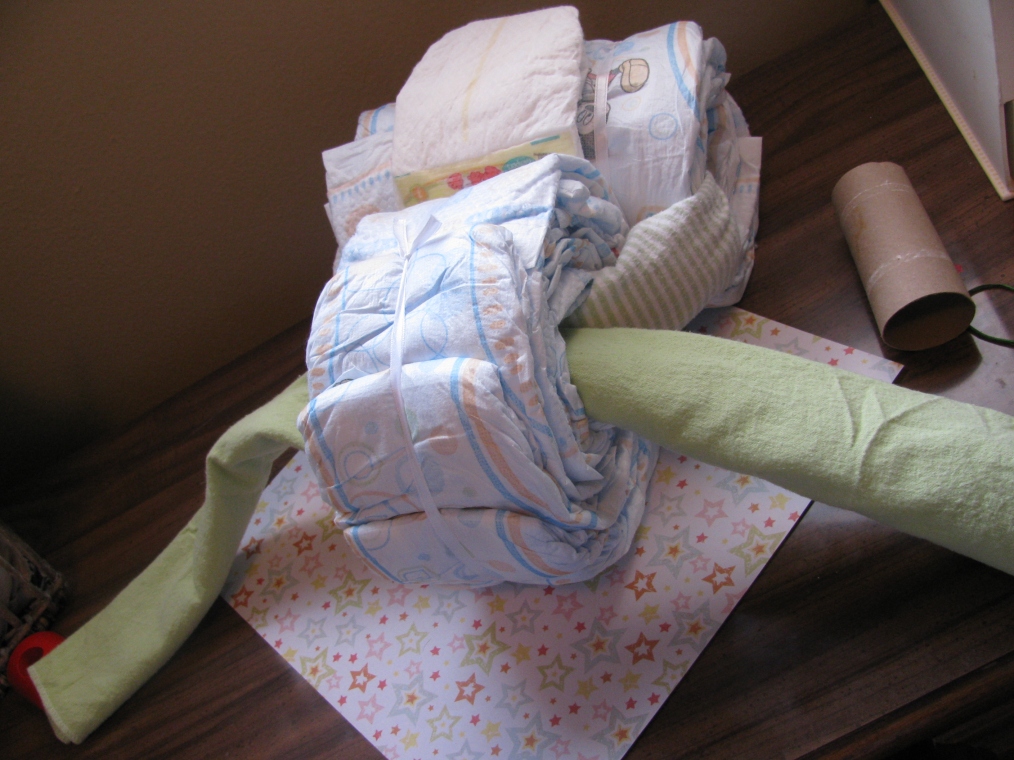
Next take one of the receiving blankets and lay it flat. Carefully roll it up until you have a “rope”. Push the blanket rope though the large, front wheel until it has an even amount of blanket on either side.


Pull each of the blanket ends through the small, back wheels.
Tie the ends of the blanket tightly. Work the wheels into place until you have the base of the trike looking like the three tricycle wheels.
If necessary, use some ribbon through the back wheels to hold everything in place.
Roll the second receiving blanket up and put it through the front wheel.
You may notice that I used some leftover newborn diapers for a seat cushion.
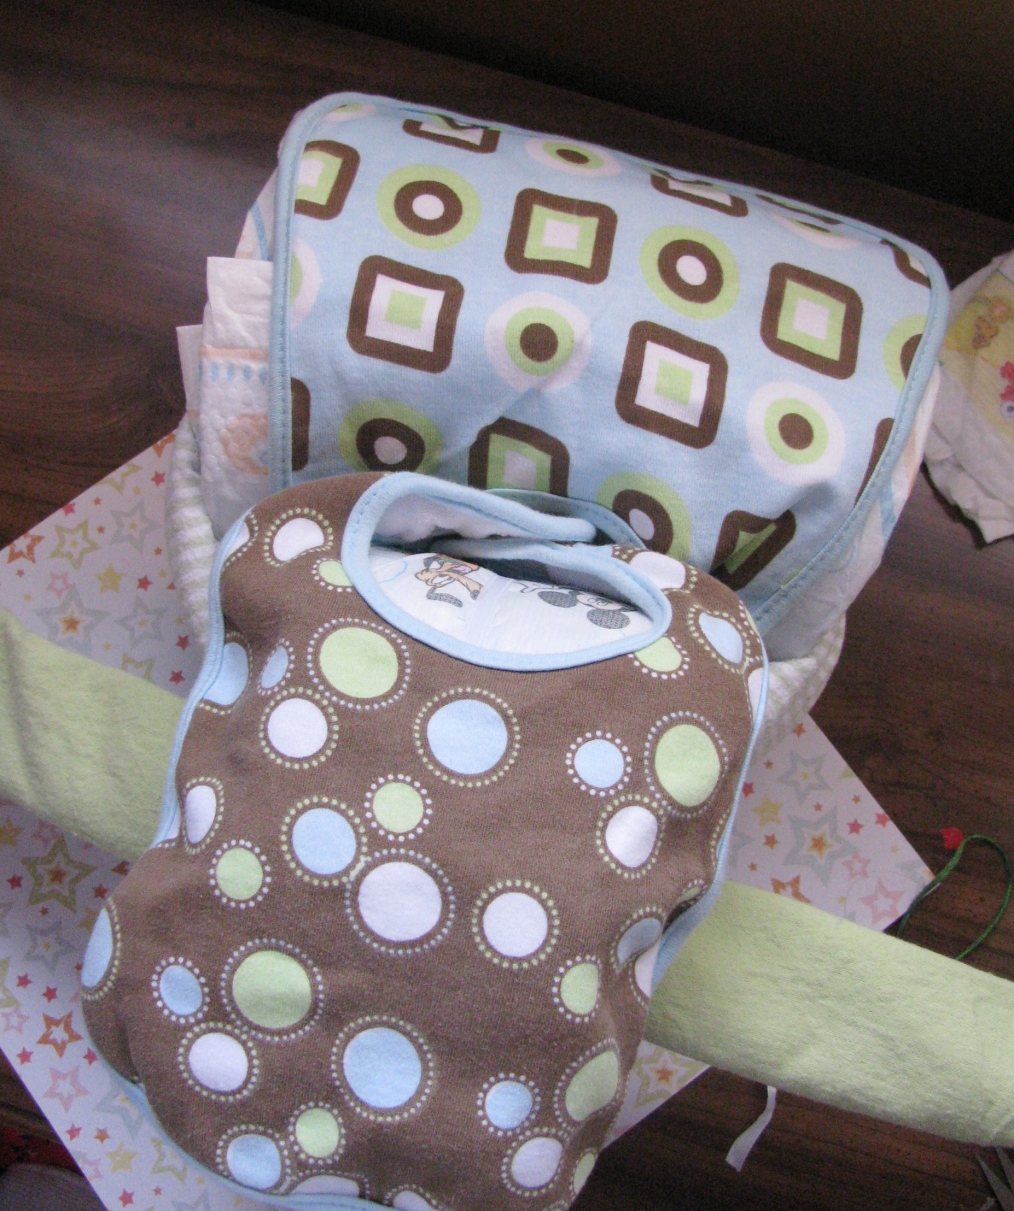
Take one bib for the front wheel mud flap and place it over the front wheel with the bottom of the bib facing out. Tuck the strap of the bib in between the back wheels and front one. Place the other bib over the center of the back wheels for the seat area. Again leave the bottom of the bib facing out and tuck the strap part into the center where all the wheels meet.
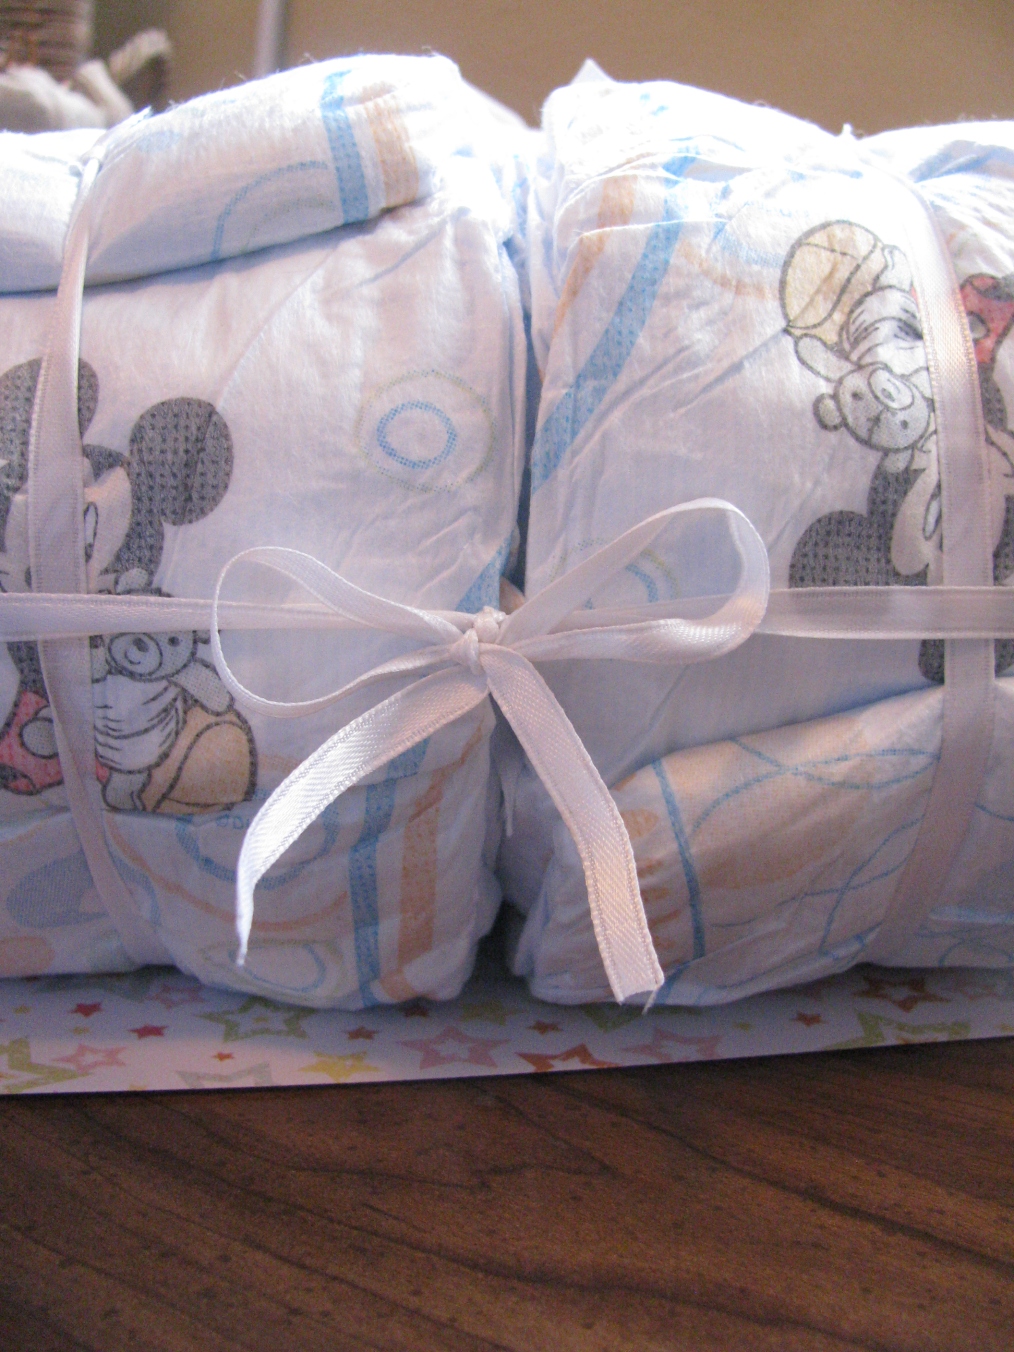
Pull the front receiving blanket “handles” up over the top of the trike and tie. You should be able to fit a toilet paper roll between the top of the front wheel and the tie around the blanket. A baby bottle goes nicely in this spot at the end.

Fold the top of each of those “bunny ears” down to the base where the ribbon is tied around the blanket. Secure the handles with Scotch tape. Other tapes would work fine. It won’t show anyway. The thickness of the folded blanket should make it pretty easy to pose so go ahead and push the now shorter “bunny ears” down to look like handles.

Cover the taped handle bars and any other unattractive areas with coordinating ribbon.

Go ahead and gently remove the t.p. roll and squeeze the baby bottle into the opening. You could put the bottle in place right from the get-go, but I like everything to be snug and secure. Using the toilet paper roll that is a little smaller keeps the opening tight so it all stays in place at the end.
Congrats! You are done. Get the bottle in place, toss on a stuffy or other accessories (hairbows look great if it’s for a girl!), and you are g2g. 


 We all have issues with facebook. From getting too many of the vaguebooking friends’ statuses to missing posts from pages you actually went of your way to like for a reason, the world’s most popular social media platform does have flaws. Enough about that.